Share with others:
How to set up a Jellyfin server for a local movie library?
It's true that you pay for the convenience they offer, but in the long run, you have to ask yourself if it wouldn't be wiser to spend that money on other, more important things. Especially if you already have all the equipment you need at home to set up a local server through which you can watch movies and series.
We have already shown how to get rid of your Google (Apple or other) cloud subscription in our guide to self-hosting via ImmichNow is the time to get rid of your Netflix or other streaming platform subscription.
However, self-hosting movies and series is not for everyone. If you don't have an existing collection of movies and series (DVDs, Blu-ray discs, etc.) that you can digitize, and you don't plan on buying physical copies in the future, then streaming platforms are still a better and cheaper option. Streaming services will likely always be cheaper than self-hosting, unless you're really careful about your purchases.
Why would you even set up a Jellyfin server? Because every movie or series will be yours forever, you can watch it whenever you want, and you'll never have to worry about Netflix and Mickey Mouse deciding to remove Friends or any of the other shows you love from your library overnight. The quality of the media from your own collection will also be much better in most cases. You can share it with friends and family - at no extra cost. Or access it when you're on vacation, on the weekend, or anywhere else.
We will not deceive ourselves. Many people will blindfold themselves and enrich their archive of films and series under the flag of piracy. We do not advocate or support this, but at the same time we cannot pretend that this is not an option that many people will take advantage of.
Why Jellyfin? Why not Plex, Kodi or any other?a another solution?
Choose the one that suits you best at first glance. For me, it's Jellyfin, which I've been using alongside Plex for a long time. The latter is still easier to install, the interface is more intuitive, but we went our separate ways after they introduced some restrictions, locked certain features in exchange for a subscription, and also made the latter more expensive. The most painful blow was the end of free streaming outside the home network. For example, when I was on vacation, I wanted to access my home library in a hotel. With the changes, this is now only possible with a Plex Pass or Remote Pass subscription.
Jellyfin is free. All features are available straight out of the box, including remote streaming (even outside your home network), hardware acceleration, syncing with multiple devices, and more. With a little customization, you can also turn it into a replacement for Spotify, Google Photos, but more on that later.
I have no experience with Kodi, although I have heard a lot of good things about it. You can try it out and let others know in the comments which one you like better. I have noticed that some people use Kodi as a frontend/skin for Jellyfin, which I may try myself.
How to install Jellyfin?
First, you need to set up a server that you can then access from your TV, phone, tablet, or another computer. You can set up a Jellyfin server on your home computer, or you can use a NAS or a Raspberry Pi, depending on what you have available. For most people, this will be a computer. You can use an old computer that you no longer use, but it may still be good enough for occasional streaming. If it's an older device, it probably won't be powerful enough to stream more than one connection (4K streaming is out of the question entirely), but for a single 1080p connection, an older processor should still be sufficient.
- Go to https://jellyfin.org/, section Downloads → Server → Select the system on which you will install Jellyfin server.
- Be sure to choose the correct version. Windows users with AMD and Intel chips should choose the AMD64 version, as should Mac users with older Intel chips. ARM64 is for Snapdragon computers with Windows and for Mac users with M chips.
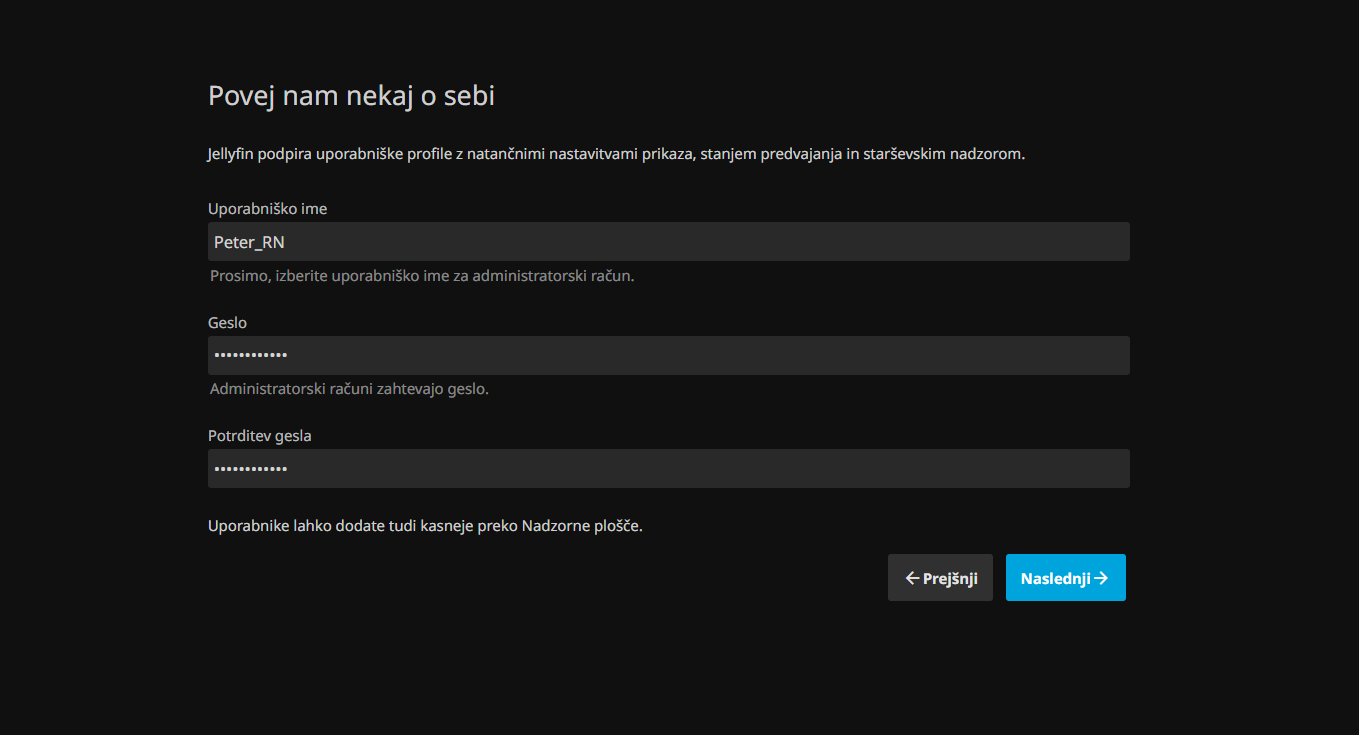
- After downloading, follow the installation instructions. I used Windows for the installation example. Once the installation is complete, Jellyfin should open in your browser, where you will again follow the instructions (username, password, language, etc.) to set up the server.
- If Jellyfin does not open automatically, type in your browser https://localhost:8096.
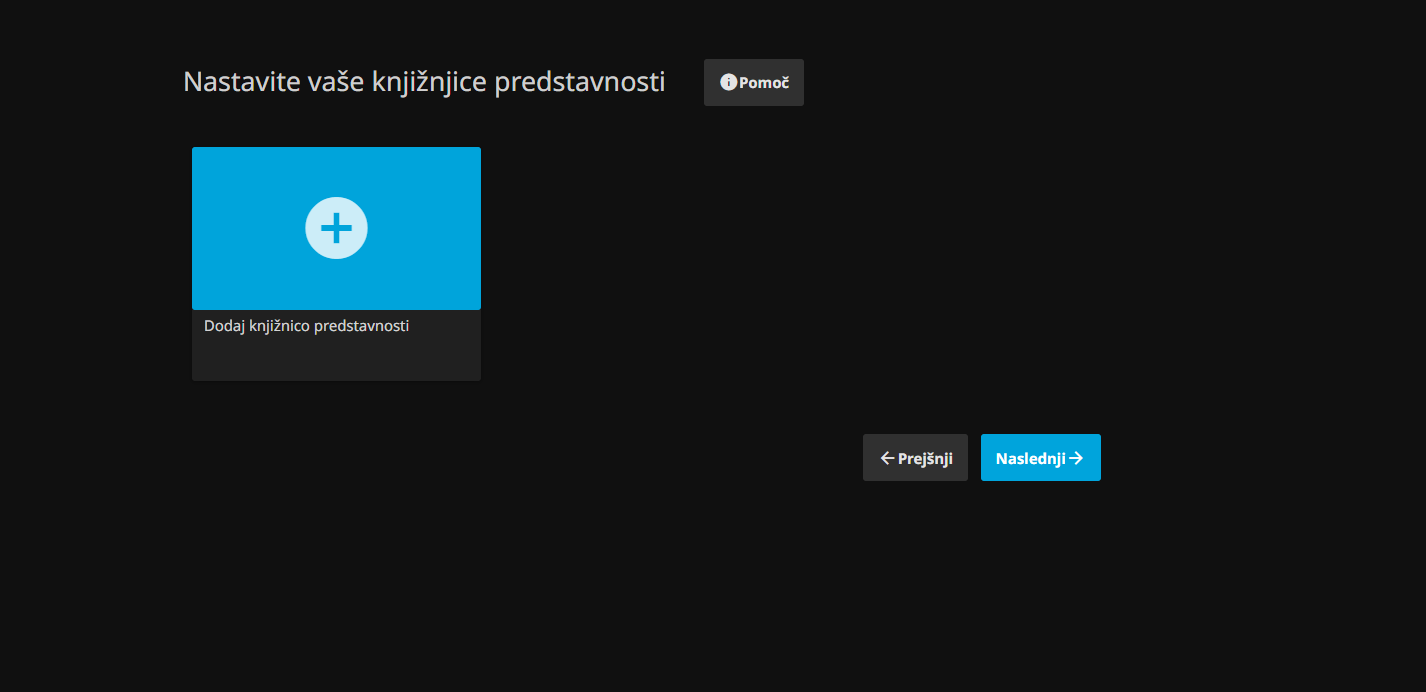
- You can add media libraries (movies, series) immediately or later in the control panel.
I recommend that you do not trust your profile to others, but rather create multiple profiles in your control panel if you plan to share your library of movies and series with others, especially from other households. Go to the section Users, create a new one and grant it full access to the created libraries – or just to individual ones.

How to access Jellyfin server with another device on the same network?
Once you're done with the setup, you'll be wondering how to access your newly created Jellyfin server from other devices. On your phone, you'll find the Jellyfin app in the Google and Apple stores. If you have an Android TV, you'll also find it in the official store. The bigger problem is Samsung TVs with Tizen, but there's a solution for that too. https://github.com/Georift/install-jellyfin-tizen (easier installation) or https://github.com/jellyfin/jellyfin-tizen (more demanding). Or for a few tens of euros, buy one of the Android boxes with Android TV or Google TV installed.
In the application (or even in the browser), you will first enter http://IPyourcomputer:8096You can find the IP of the computer (that is, the computer on which you set up the server) with Command prompt (cmd), in which you type the command ipconfigYou need to find the IPv4 line (for example 192.168.1.100). Type it into the app and then enter your username and password.
But this procedure only applies if you access it from another device via the same network as the Jellyfin server, for example from your home TV, phone connected to the same Wi-Fi...
Don't worry, you can access the library even when you're at sea or on the other side of the world.
How to access Jellyfin server with another device outside the home network?
There are several ways, such as port forwarding on your router, using a VPN, or using a VPS solution like Tailscale or ZeroTier. If you recall, we already used the latter in the guide to streaming games via home serverThis time I chose Tailscale as an example, although the process is very similar on both.
Install the Tailscale application on the computer where you have the Jellyfin server installed. Download it on your phone or on the device through which you will access the Jellyfin server outside your home network (another computer, TV, etc.). After installation, you will receive a Tailscale IP address, which you should remember, as you will need to enter it on the device through which you want to watch movies and series.
Then all you have to do is enter the same IP address in Jellyfin (for example http://100.64.12.34:8096) and later your password and username for Jellyfin.
You're done. Now you have your own media server to fill with your favorite movies and series. Maybe not right away, but eventually you'll be able to stop subscribing to streaming platforms forever. Once you've mastered it, I recommend checking out plugins, for example, to skip the closing credits.