Share with others:
How to store all your photos at home without the help of Google (or Apple)?
Until their phone runs out of space, most users don't even transfer photos (or other files) to a computer or other device - perhaps only when they want to create a photo album and it's easier to sort on a computer. More experienced users, however, realize the importance of backups, so they regularly transfer images to a computer, NAS, or external drive.
One awkward slip or hardware failure and you could be left without everything.
When space runs out, many people turn to the cloud (Android users to Google, Apple fans to iCloud) because it's the simplest solution. The first few gigabytes are free, but we all know that's not enough. A hundred gigabytes sounds like a lot, but even that can be filled up in a few months, especially if you share the space with others. Each jump to a higher capacity in the cloud also means a higher subscription price. Google, for example, starts at 100 GB, and 200 GB is also available, but it's hidden, as the upgrade is only possible in your profile once you become a subscriber. Then there's a huge gap in between and you jump to 2 TB – and suddenly you're paying €100 a year for photo storage.
If you can share this cost with others, it's a reasonable price to pay, but you're still keeping your data with another provider. However, it's just another subscription fee you pay on top of at least one of the video and music streaming platforms (Netflix, Disney+, Spotify, etc.).
The third alternative is self-hosting, or hosting your data locally. The idea of self-hosting will not appeal to many people because it is not nearly as easy as the cloud, and there is nothing wrong with that. Most users who choose self-hosting have some knowledge, will, and already have hardware that allows them to store large amounts of data.
However, if you get tired of manual copying in the future or want to break away from Google or Apple, below you will find a guide on how to set up a server for local data hosting.
What are the best alternatives to Google Photos and iCloud?
There are quite a few of them. If you want to stay in the cloud, but not Google or Apple, you can choose something European, such as pCloud, Internxt or Filen.io, or something local, such as Slovenian Koofr. On https://comparisontabl.es/cloud-storage/ You can easily compare most cloud storage providers, including prices and in some cases how to get additional benefits. You can find more European alternatives in our online article: European alternatives to American programs and services.
There are even more local storage solutions. Some of the best include Nextcloud, Photoprism, Piwigo, Lychee, and Immich. Since I'm proficient with the latter, this guide is based on it.
There is also an option to get unlimited space in Google's cloud by masking the identity of your phone, which will pretend to be a Pixel 1. I won't go into details, but based on what has been written, you can find a suitable guide yourself, but at your own risk.
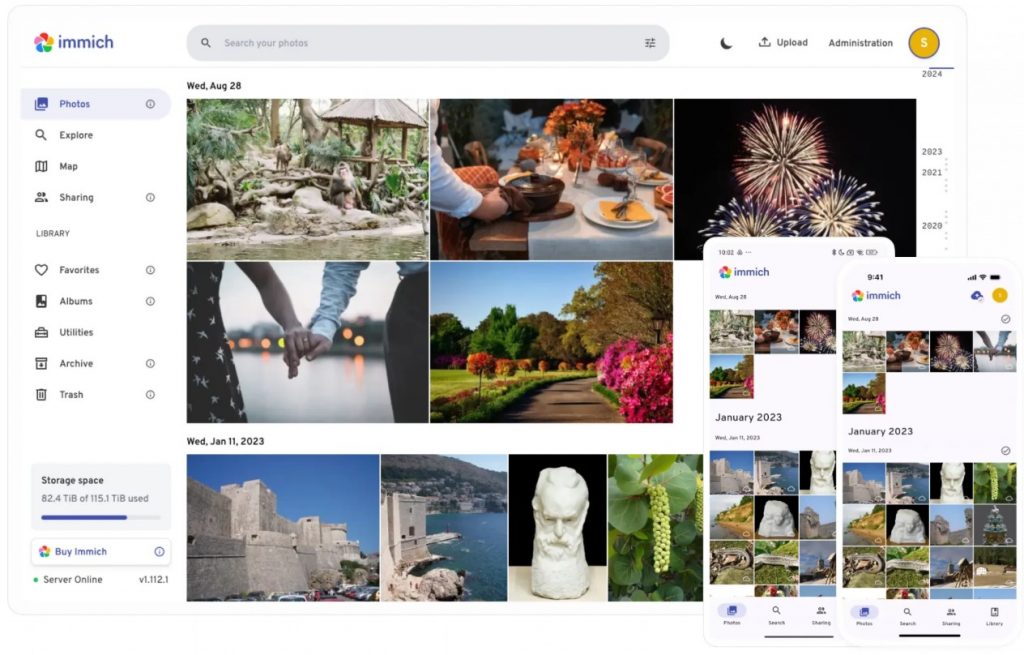
What is Immich?
Unlike Google Photos, iCloud, Dropbox, and other cloud platforms, Immich lets you host a server for your photos and videos on your own hardware, giving you complete control over your collection. If you don't have enough space, your only cost is renting additional drives (and electricity, of course).
Self-hosted solutions often have a reputation for being very complex to manage. For some, this is true, but Immich is very similar to Google Photos in terms of user experience.
It's also equipped with artificial intelligence for photo recognition, cross-platform apps, automatic uploads, geotagging, and a bunch of other features to make image management as painless as possible.
How to install Immich?
When you read that I recommend using one of the Linux distributions for installation, most of you will be in a panic. Hit the brakes, because Linux is not Jága bába. The guide will first be based on Linux, and later on how you can use Immich in a similar way on Windows.
On one of the typical Linux distributions, use Docker to install the Immich program.
- Go to the official GitHub profile for the Immich program and download the file example.env and docker-compose.yml
- Rename the file example.env in .env.
- Launch Terminal and use the command cdto navigate to the folder where you saved the aforementioned files, for example cd Downloads.
- Use the command docker compose -dto install Immich.
On Windows, there are several options. You can use Docker Desktop, but I recommend recreating the steps in a virtual environment, for example using VirtualBox or VMware. Some systems (Unraid, UmbreIOS …) have Immich included in their store by default and you won't have to deal with a lengthy installation.
For example, if you are going to use VirtualBox, you can download a Linux distribution (example: Ubuntu) directly from the official website. NAS users can make their life easier with TrueNAS SCALE, where Immich is already part of the repository.
Another example of installation on Ubuntu distribution (24.04.2):
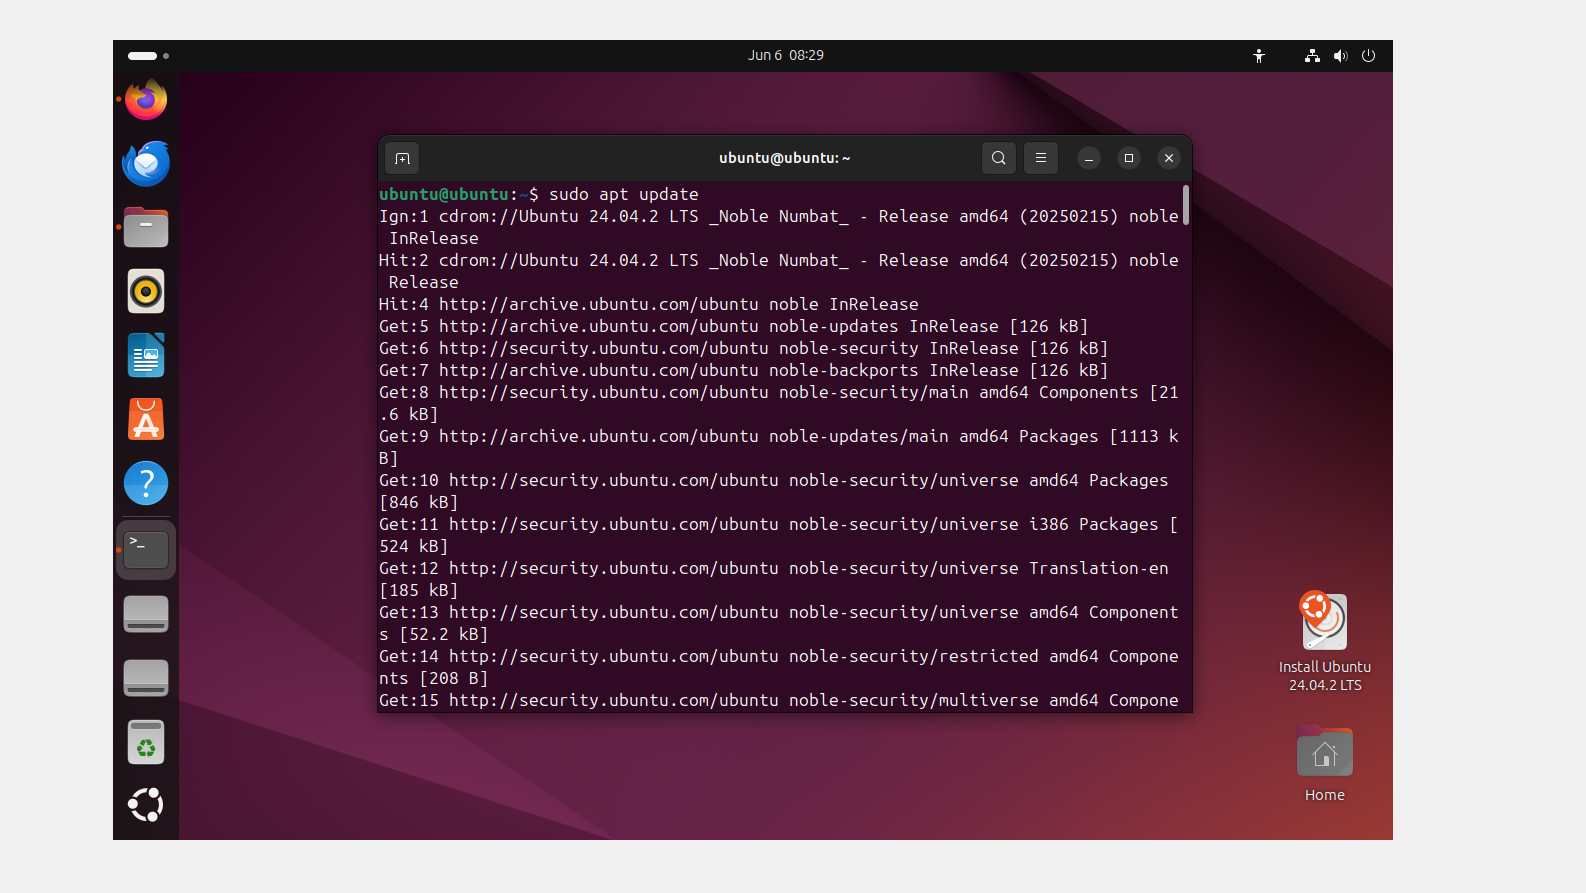
The first thing to do is to update the packages with the commands:
sudo apt update sudo apt upgrade
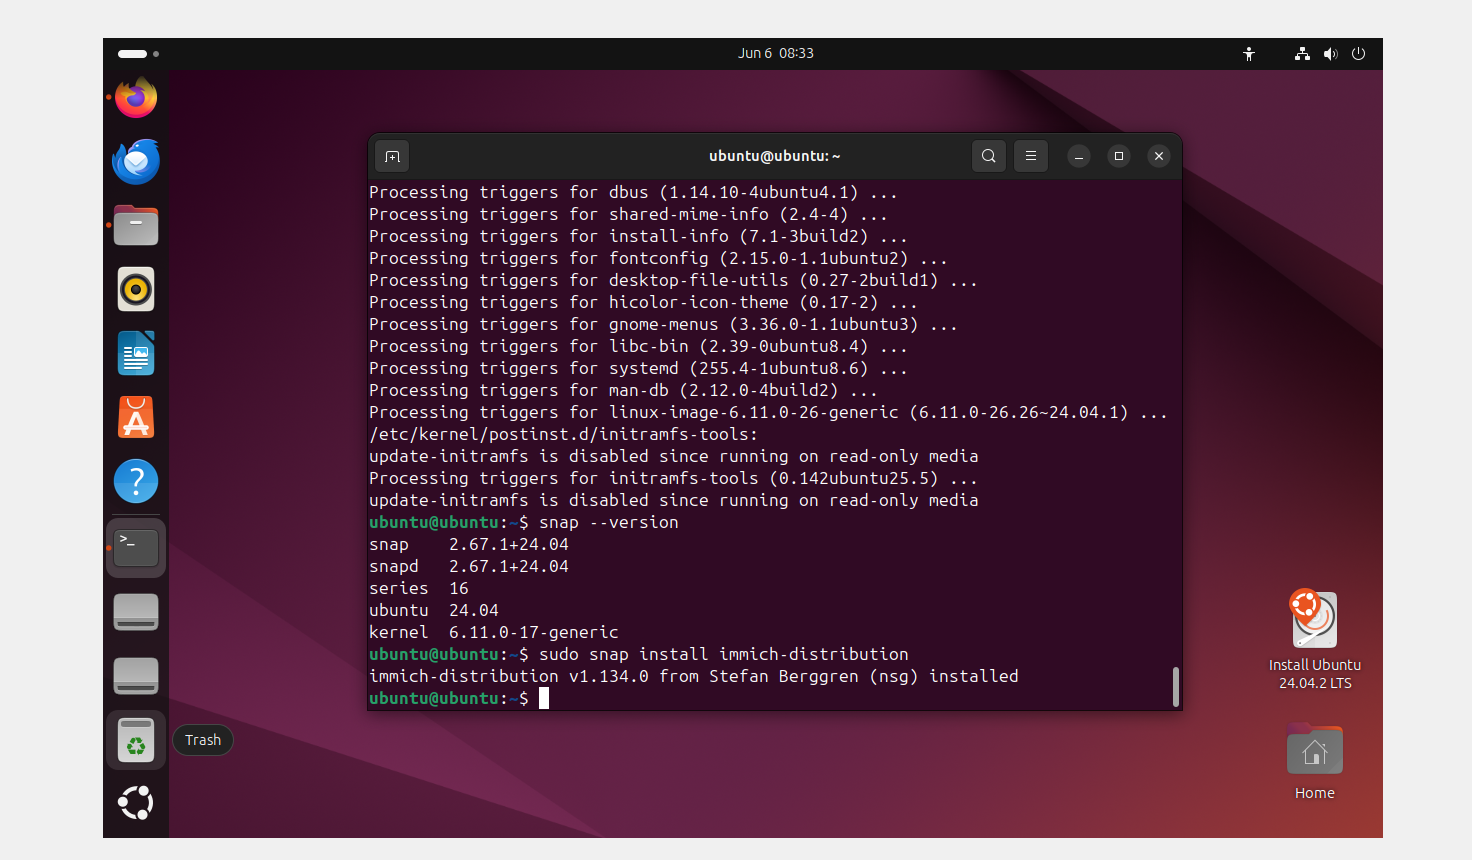
Before installing, you can just check if the package version is snap latest (command: snap –version). To install Immich, use the command:
sudo snap install immich-distribution
The latest version will be installed and the entire backend will be already set up, so no manual configuration is required. The initial installation may take a few minutes, depending on your internet speed.
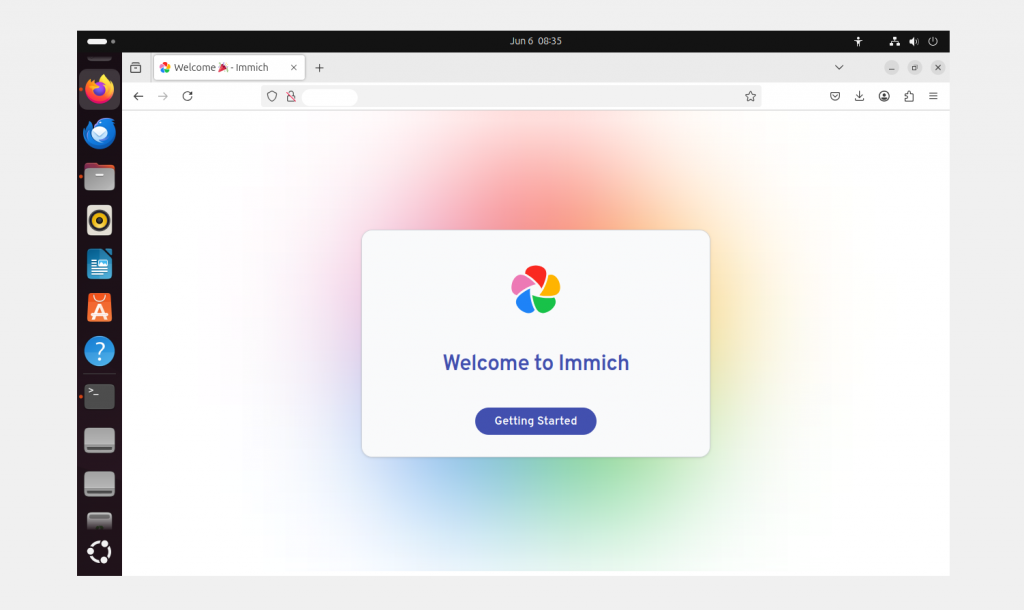
How to access the Immich program?
Once Docker has finished downloading, it will start hosting Immich and all the necessary packages. If you haven't changed the port number in the file docker-compose.yml, type localhost:2283 into your browser's search engine, and you will get access to the Immich server on your local device.
If you would like to access Immich from another device on your home network, simply type the IP address into a search engine.
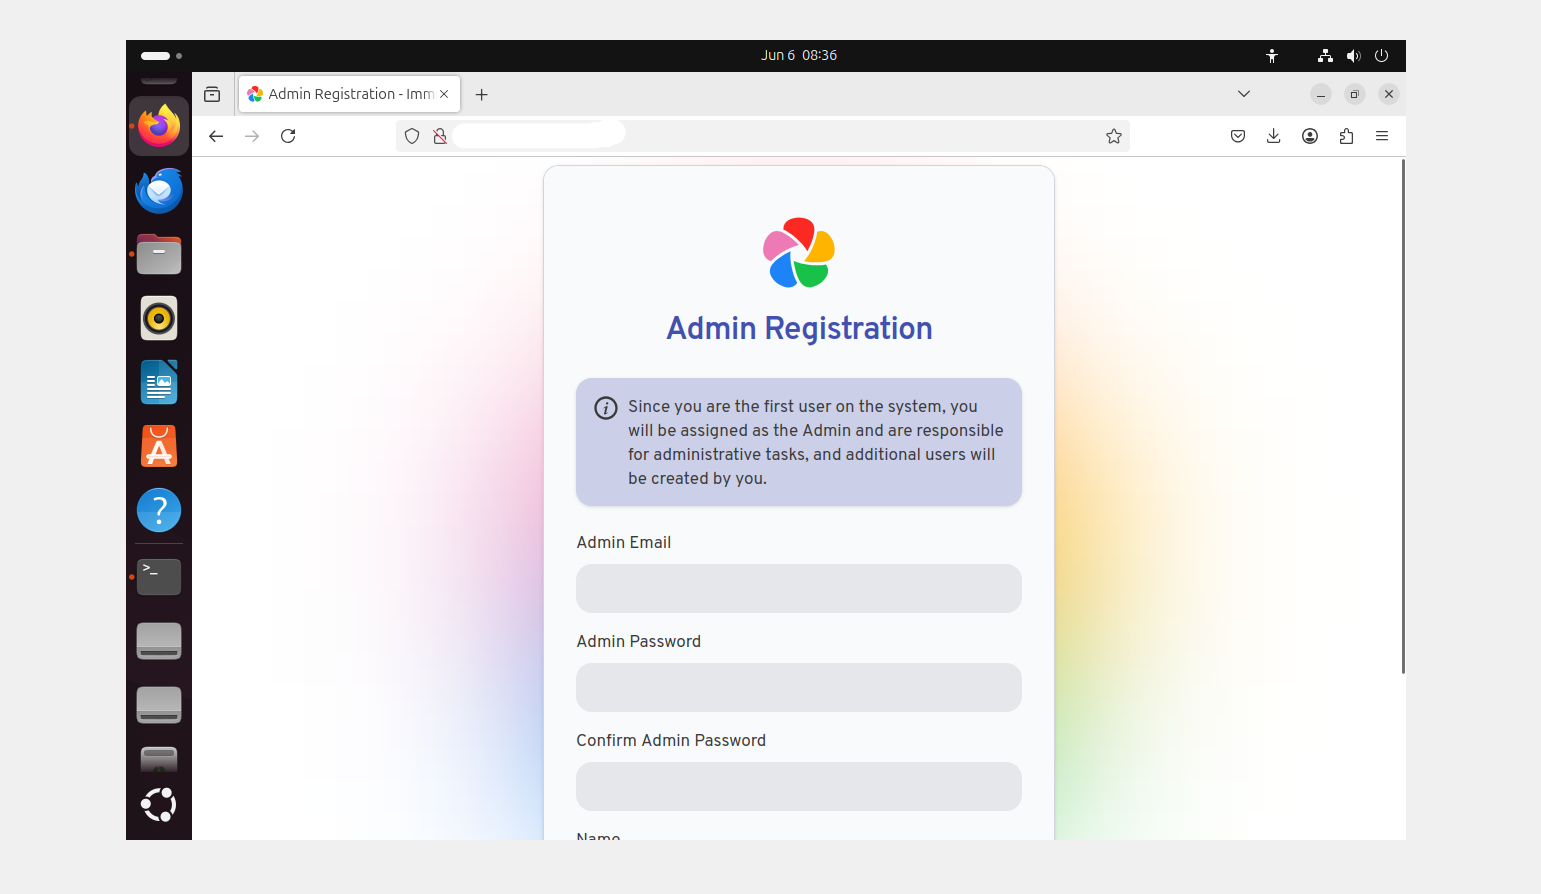
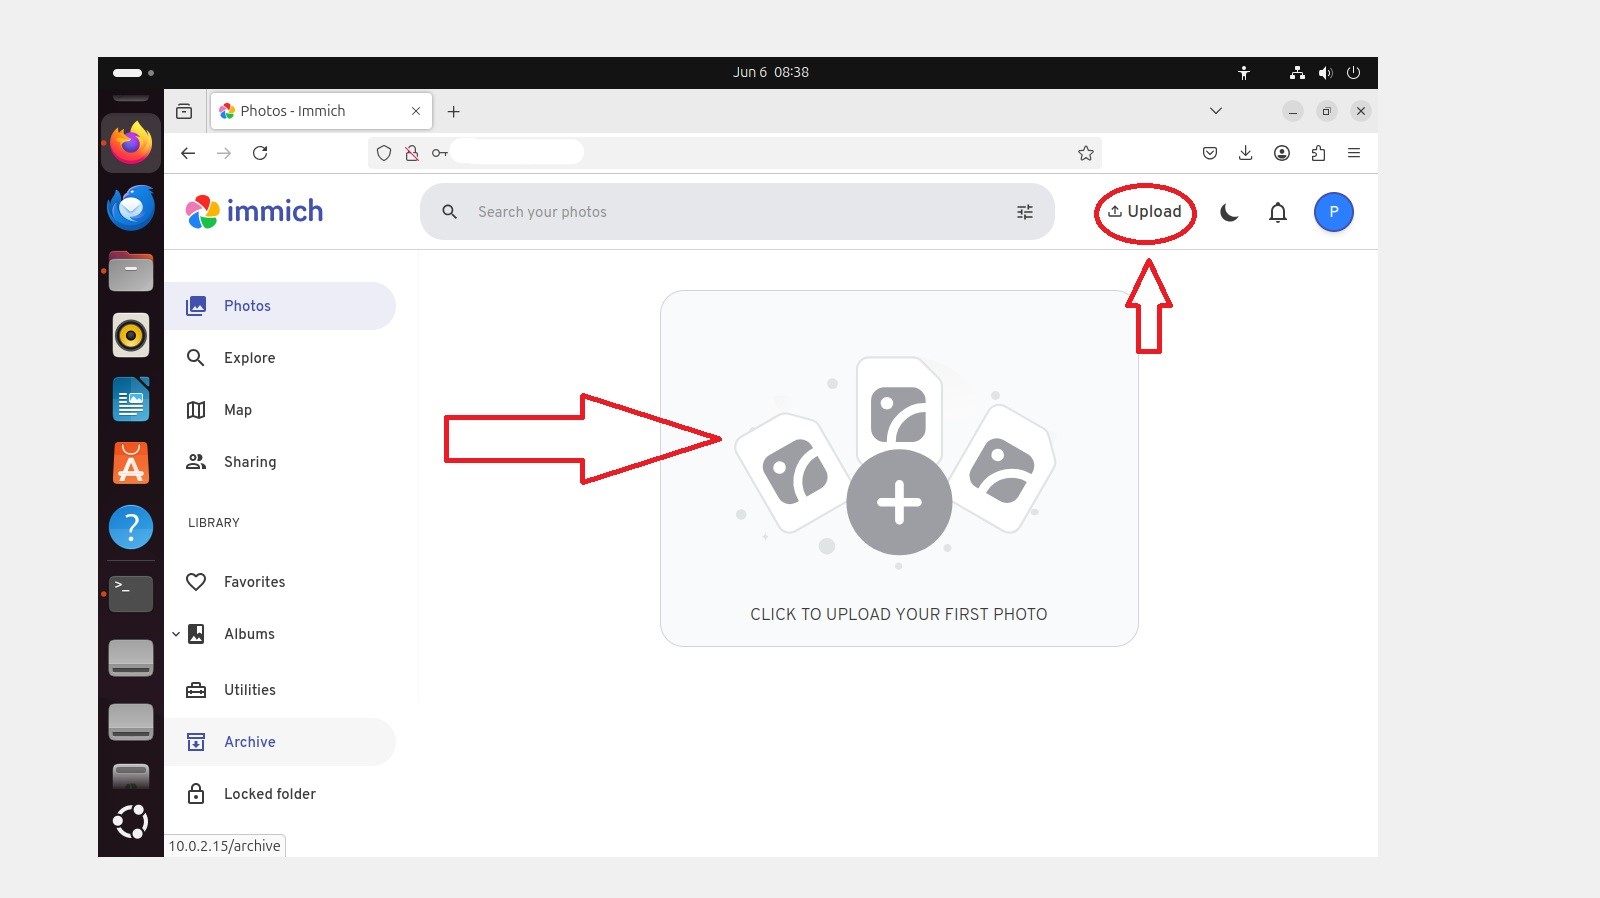
A new window will appear and follow the instructions for initial setup (email, password, etc.). When you are finished, click the button Upload in the top right corner and upload all the images and videos you want to host locally.
If you followed the instructions for Ubuntu, you can also access Immich via a browser. In the search bar, type http://server IP number, which can be found in Ubuntu settings.
How to proceed?
Once you've uploaded your media files to Immich, you can use the Utilities tab to find duplicate files and remove them if you want. In addition to a convenient web user interface, Immich also offers dedicated apps for Android and iOS that let you set up automatic backups for your mobile devices. Automatic backup of photos and videos is also supported, and you can browse the latter even without an internet connection.
Among the organizational features, you will use the classic album browsing (as in similar solutions), timeline view (chronological display of photos) or locations (based on geotags). Immich also has some integrated artificial intelligence capabilities, such as automatic analysis and tagging of photos based on their content, which makes searching easier. It also recognizes faces in photos for easier sorting.
You can easily share your image and video collection with friends and family, but the control is in your hands and not in the hands of a foreign provider.